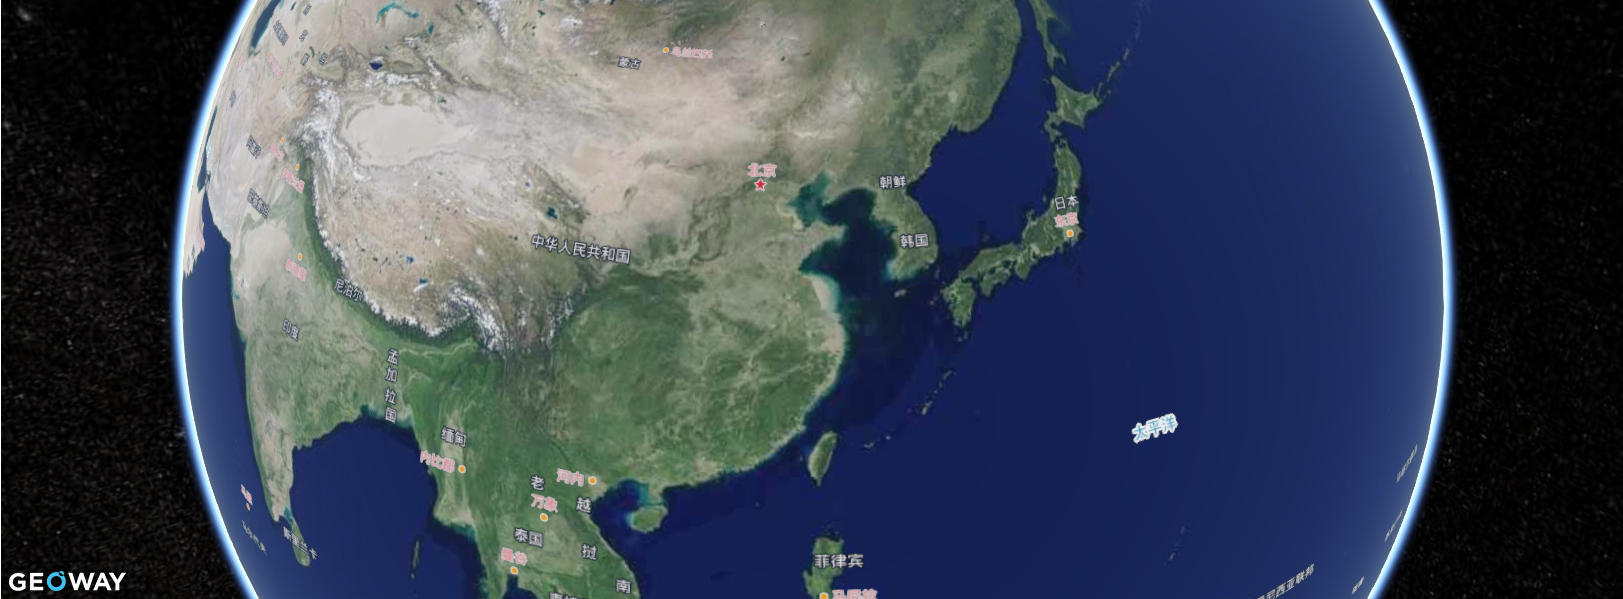
# 快速入门
# 1. 获取 GEOWAY Globe for WebGL
开发时需要引入 GEOWAY Globe for WebGL。其中包括必备的 CSS 和 JS 文件,你可以通过以下链接获取:
http://atlas.geoway.com.cn:8005/web-globe-sdk/v1.0.4.zip (opens new window)
# 2. 引入 geowayglobe 开发包
<link href="http://atlas.geoway.com.cn:8005/web-globe-sdk/cesium-sdk/Cesium/Widgets/widgets.css" rel="stylesheet">
<script src="http://atlas.geoway.com.cn:8005/web-globe-sdk/cesium-sdk/Cesium/Cesium.js"></script>
<link rel="stylesheet" href="http://atlas.geoway.com.cn:8005/web-globe-sdk/GeowayGlobeSDK/GeowayGlobe.min.css">
<script src="http://atlas.geoway.com.cn:8005/web-globe-sdk/GeowayGlobeSDK/GeowayGlobe.min.js"></script>
1
2
3
4
2
3
4
# 3. 新建 div 容器
<div id="cesiumContainer"></div>
1
# 4. 使用 new Cesium.Viewer 方法创建地球
var viewer = new Cesium.Viewer("cesiumContainer", {
  animation: false, //是否显示动画控件
  shouldAnimate: true, // 是否自动播放
  homeButton: false, //是否显示Home按钮
  fullscreenButton: false, //是否显示全屏按钮
  baseLayerPicker: false, //是否显示图层选择控件
  geocoder: false, //是否显示地名查找控件
  timeline: false, //是否显示时间线控件
  sceneModePicker: false, //是否显示投影方式控件
  navigationHelpButton: false, //是否显示帮助信息控件
  infoBox: false, //是否显示点击要素之后显示的信息
  requestRenderMode: true, //启用请求渲染模式
  scene3DOnly: false, //每个几何实例将只能以3D渲染以节省GPU内存
  sceneMode: 3, //初始场景模式 1 2D模式 2 2D循环模式 3 3D模式  Cesium.SceneMode
  fullscreenElement: document.body, //全屏时渲染的HTML元素 暂时没发现用处
});
1
2
3
4
5
6
7
8
9
10
11
12
13
14
15
16
2
3
4
5
6
7
8
9
10
11
12
13
14
15
16
# 5. 添加地图(瓦片服务)
viewer.imageryLayers.addImageryProvider(
  new Cesium.WebMapTileServiceImageryProvider({
    url: "http://t0.tianditu.com/cia_w/wmts?service=wmts&request=GetTile&version=1.0.0&LAYER=cia&tileMatrixSet=w&TileMatrix={TileMatrix}&TileRow={TileRow}&TileCol={TileCol}&style=default.jpg&tk=d6a72a78a43a2c17294b72ab26354cd6",
    layer: "tdtAnnoLayer",
    style: "default",
    format: "tiles",
    tileMatrixSetID: "GoogleMapsCompatible",
    show: true,
  })
);
1
2
3
4
5
6
7
8
9
10
2
3
4
5
6
7
8
9
10
# 6. 地球创建成功
